
Some of the links below are affiliate links. This means that, at zero cost to you, I will earn an affiliate commission if you click through the link and finalize a purchase.
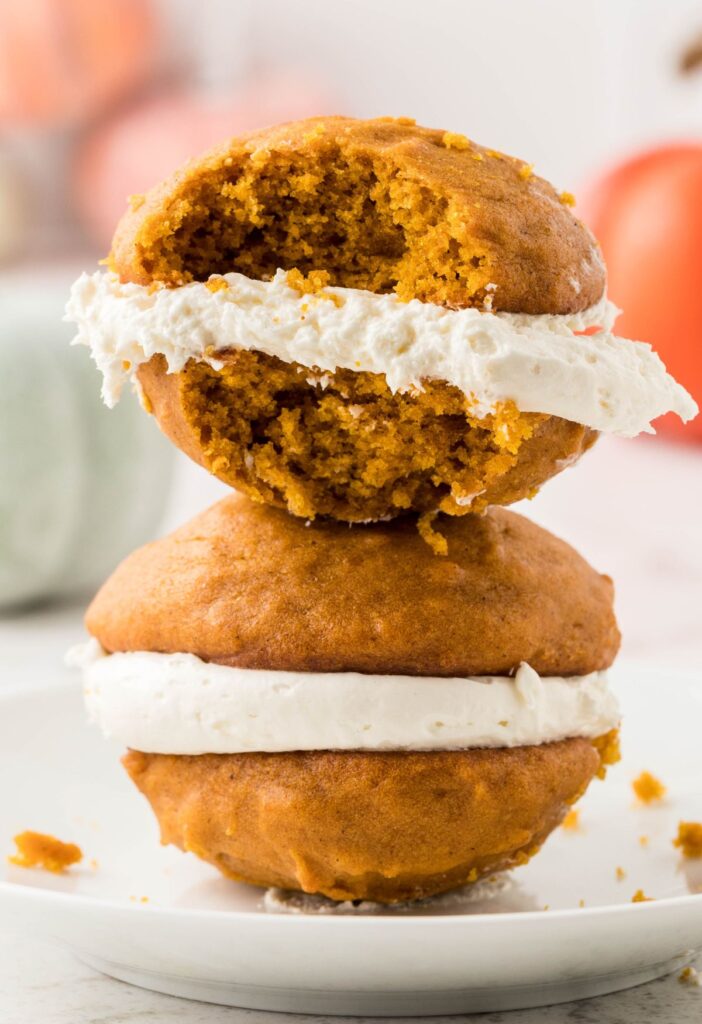
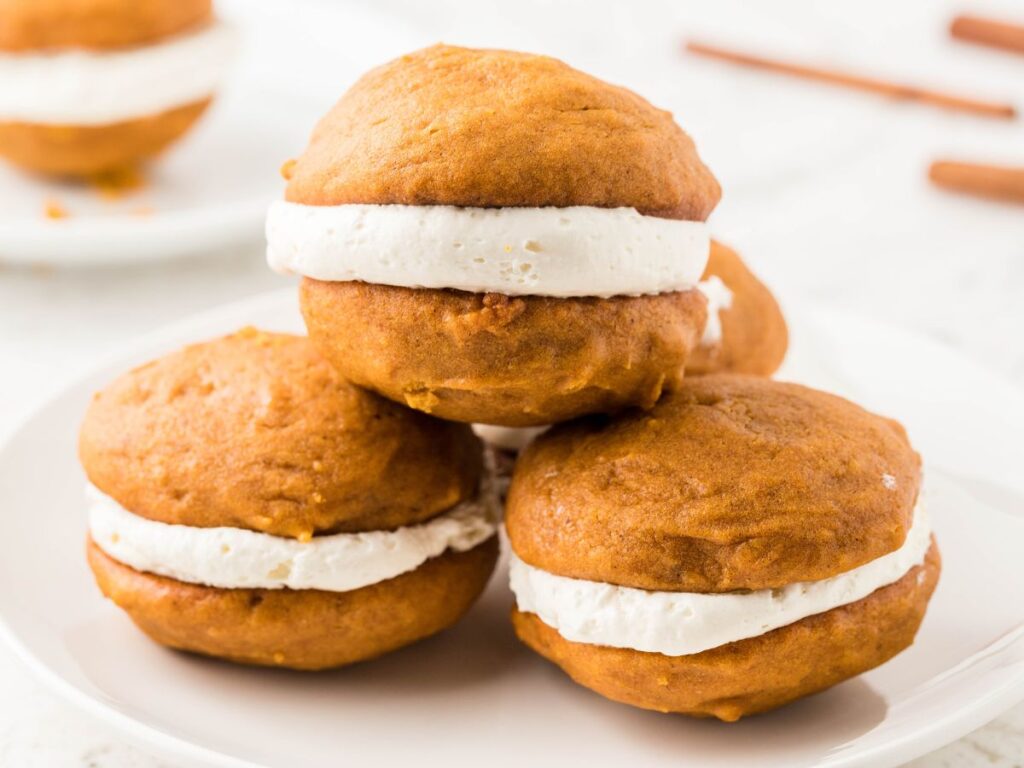
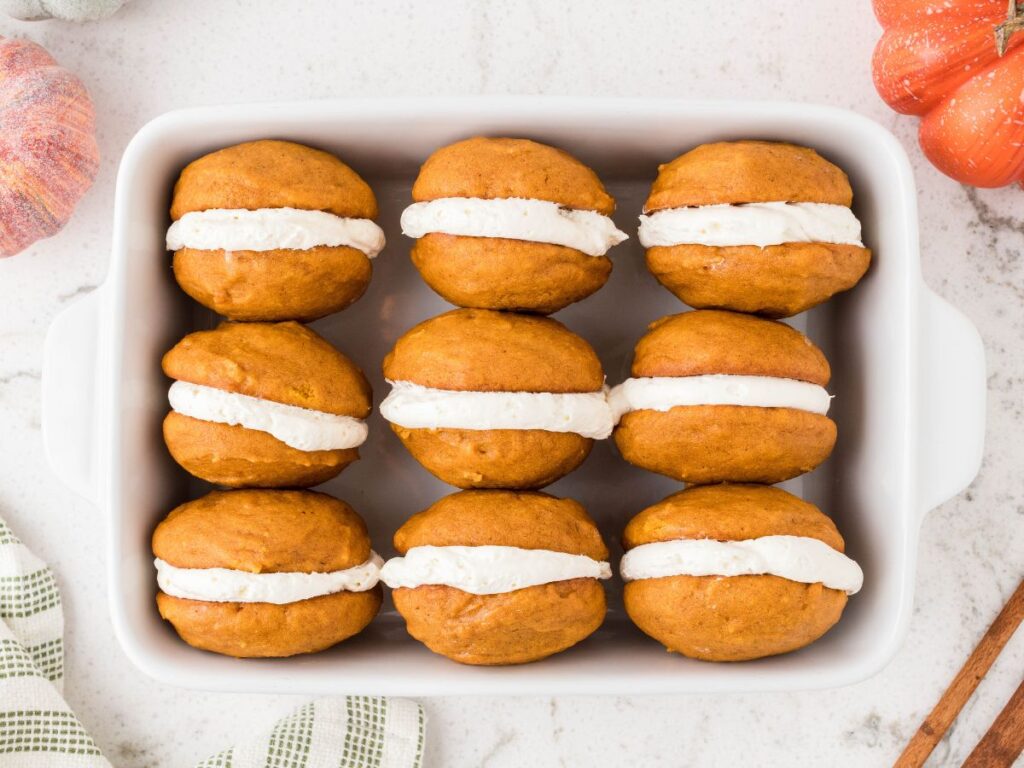
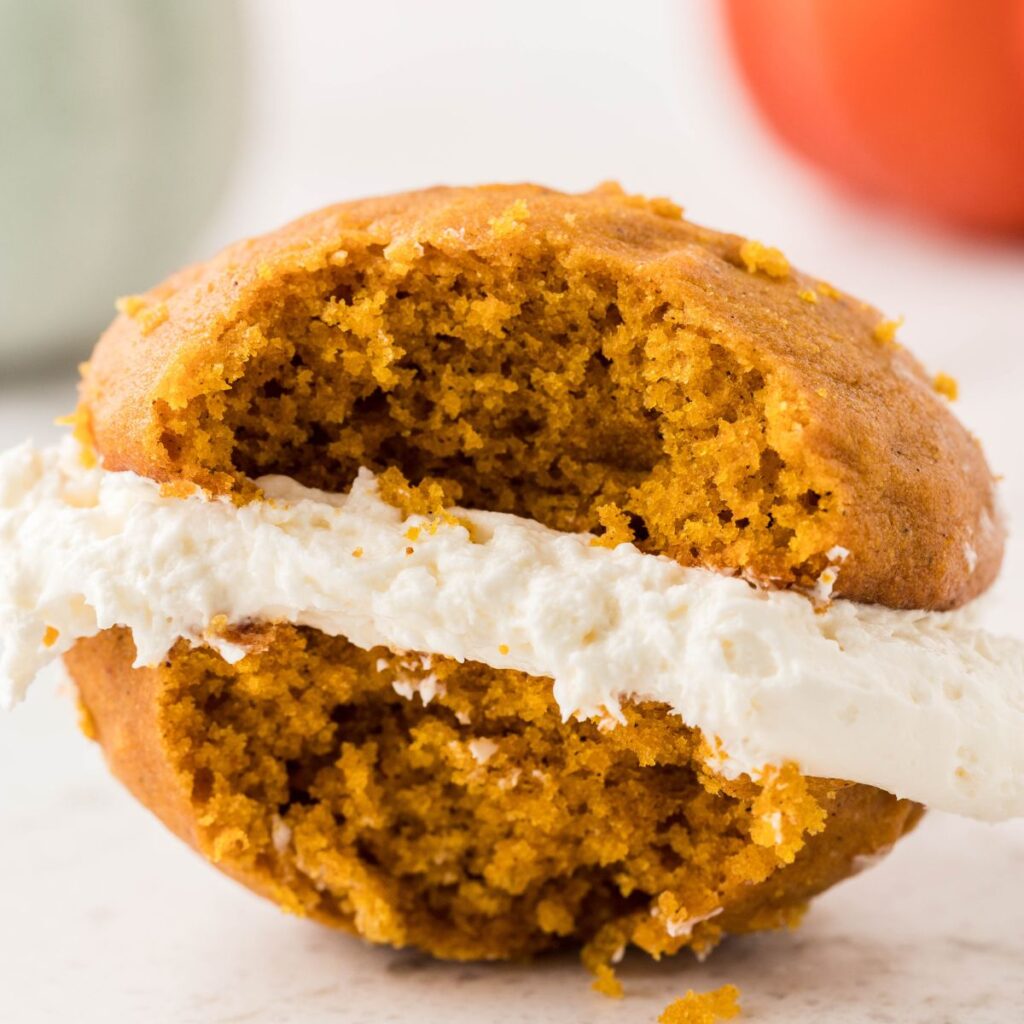
Pumpkin Whoopie Pies are homemade with pillowy soft, and maple infused pure pumpkin cookies that are filled with a whipped cream cheese frosting. A delicious pumpkin dessert!
To fulfill more of your pumpkin cravings this fall, check out my Easy Pumpkin Sheet Cake, Pumpkin Pie Pop-Tarts, and Pumpkin Fluff Pie recipes.
Pumpkin Whoopie Pies With Cream Cheese Filling Recipe (Homemade Recipe & No Cake Mix)
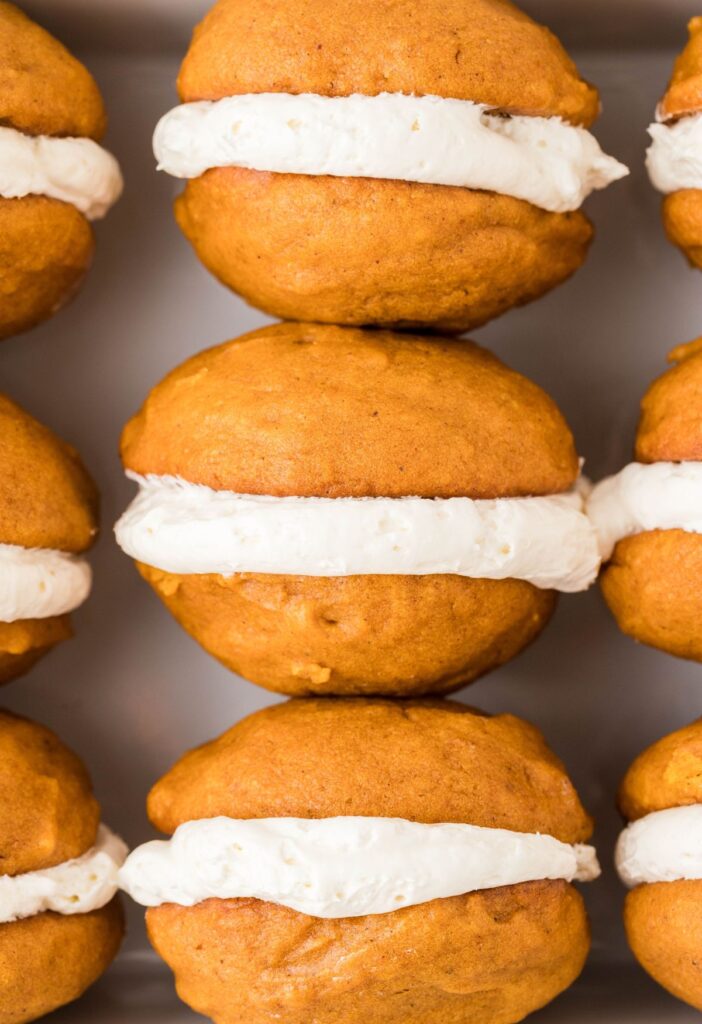
Welcome the cooler fall temperatures with these deliciously soft & fluffy pumpkin whoopie pies made from scratch! No cake mix needed with this pumpkin dessert recipe.
Homemade, soft-baked pumpkin cookies from scratch are filled with a lusciously soft cream cheese filling to create these sandwich-type cookies; also called whoopie pies.
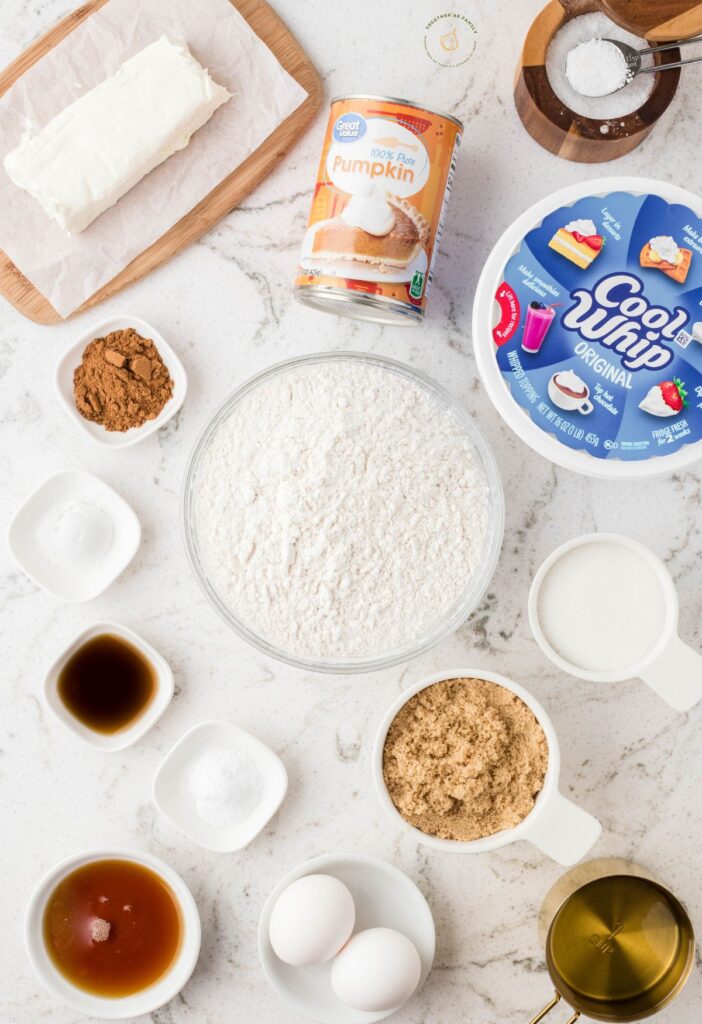
Ingredients Needed
Pumpkin Cookies
Here are the ingredients that you’ll need to make the pillowy soft pumpkin cookies for making pumpkin whoopie pies. The list is long but it’s all pantry staple baking ingredients that you probably already have.
- All-Purpose Flour
- Pumpkin Pie Spice
- Baking Powder
- Baking Soda
- Kosher Salt
- Large Eggs
- Pure Pumpkin – Make sure the can says ‘100% pure pumpkin’ on it and not pumpkin pie filling.
- Light Brow Sugar
- Vegetable Oil
- Granulated Sugar
- Pure Maple Syrup – I don’t recommend using pancake maple syrup in this recipe. Use the syrup labeled as ‘pure maple syrup’ on the bottle. It’s easily found in the breakfast aisle alongside the other syrups.
- Vanilla Extract
Whipped Cream Cheese Filling
- Cream Cheese
- Granulated Sugar
- Pure Vanilla Extract
- Cool Whip
How To Make Pumpkin Whoopie Pies From Scratch (Printable Recipe Card Below)
Preheat the oven to 350 degrees F. Prepare a rimmed cookie sheet (12″x17″) by lining with parchment paper or spray with nonstick cooking spray. Set aside.
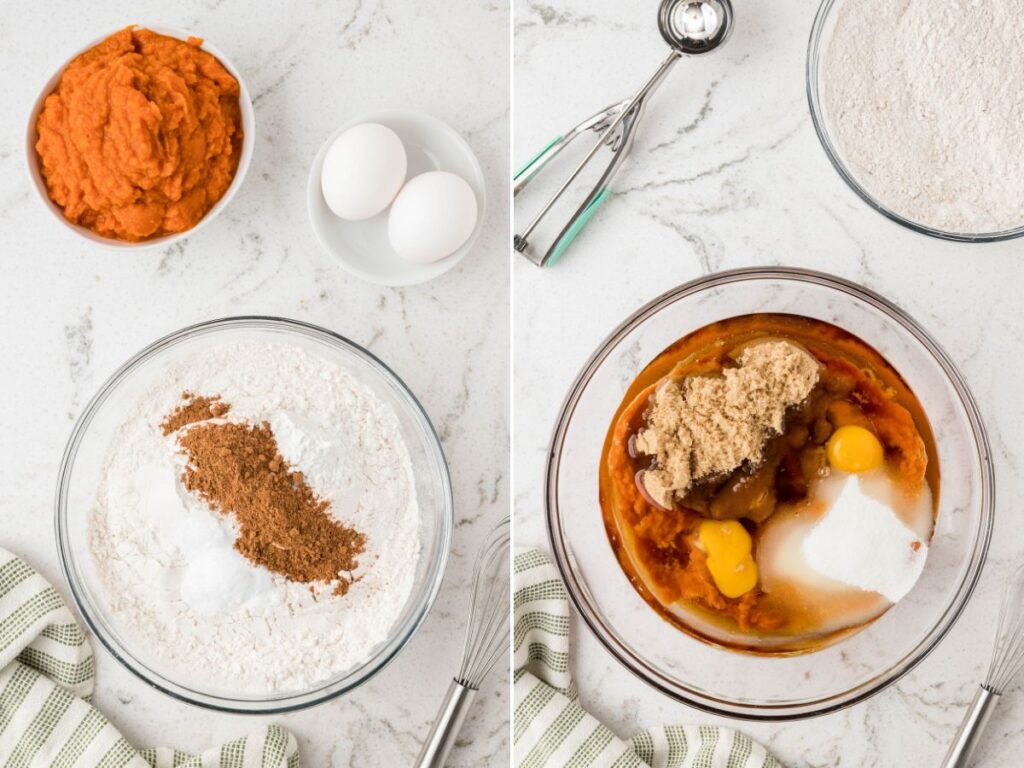
In a medium mixing bowl, whisk together the dry ingredients; flour, pumpkin pie spice, baking powder, baking soda, and kosher salt.
In a larger mixing bowl, whisk together the eggs, pure pumpkin, light brown sugar, vegetable oil, granulated sugar, maple syrup, and vanilla extract until well combined and smooth.
Next, add the dry ingredients into the wet ingredients. Mix thoroughly, with a silicone rubber spatula, until combined but be sure not to overmix the batter. Allow the batter to rest for 10 minutes.

Use a 3 tablespoon cookie scoop (a large cookie scoop) to scoop the dough onto the prepared cookie sheet. Bake for 10-12 minutes.
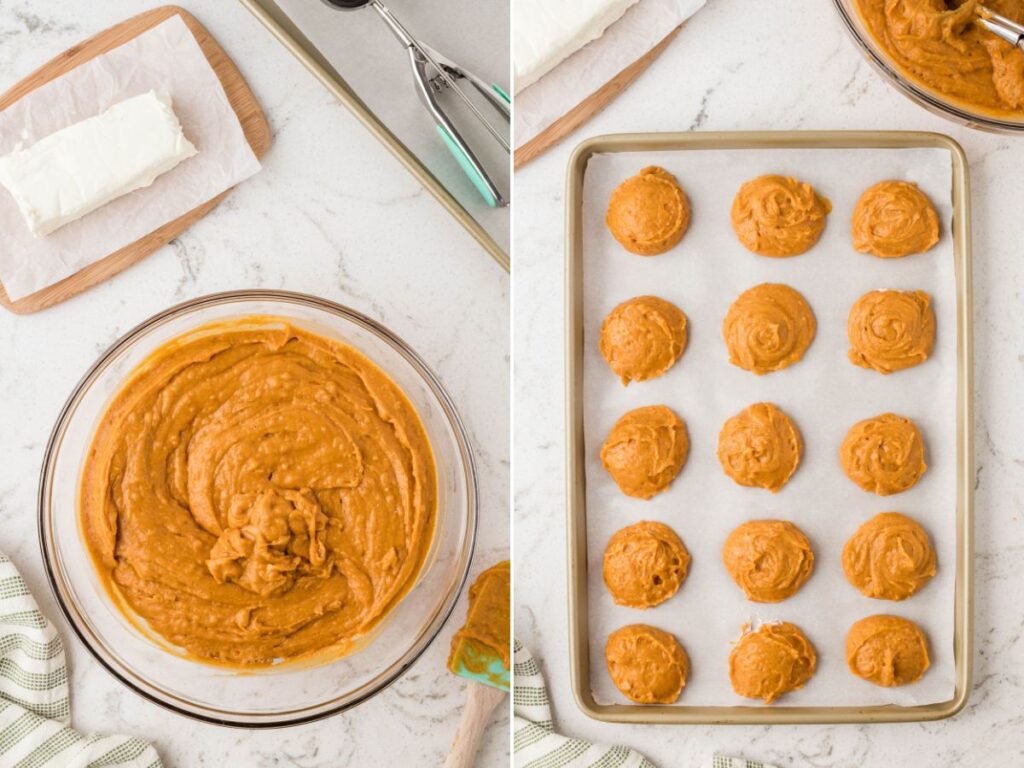
Remove cookies from the oven and allow them to cool completely before filling them. Let the cookies cool on the warm cookie sheet for several minutes and then remove them to a cooling rack to finish cooling completely.
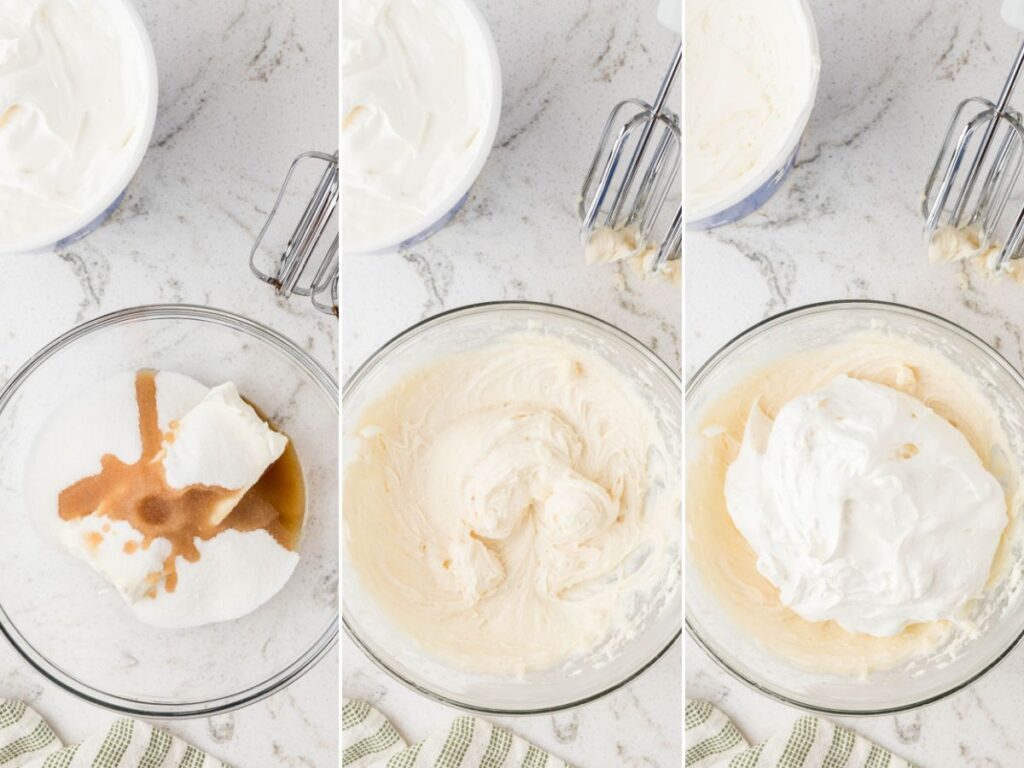
While the cookies are baking, make the filling so it has time to refrigerate. In a mixing bowl using an electric hand mixer, beat the cream cheese, granulated sugar, and vanilla extract until creamy and no lumps remain. Stir in the thawed Cool whip and mix until combined. Cover the bowl and let the filling refrigerate until you’re ready to fill the whoopie pies.
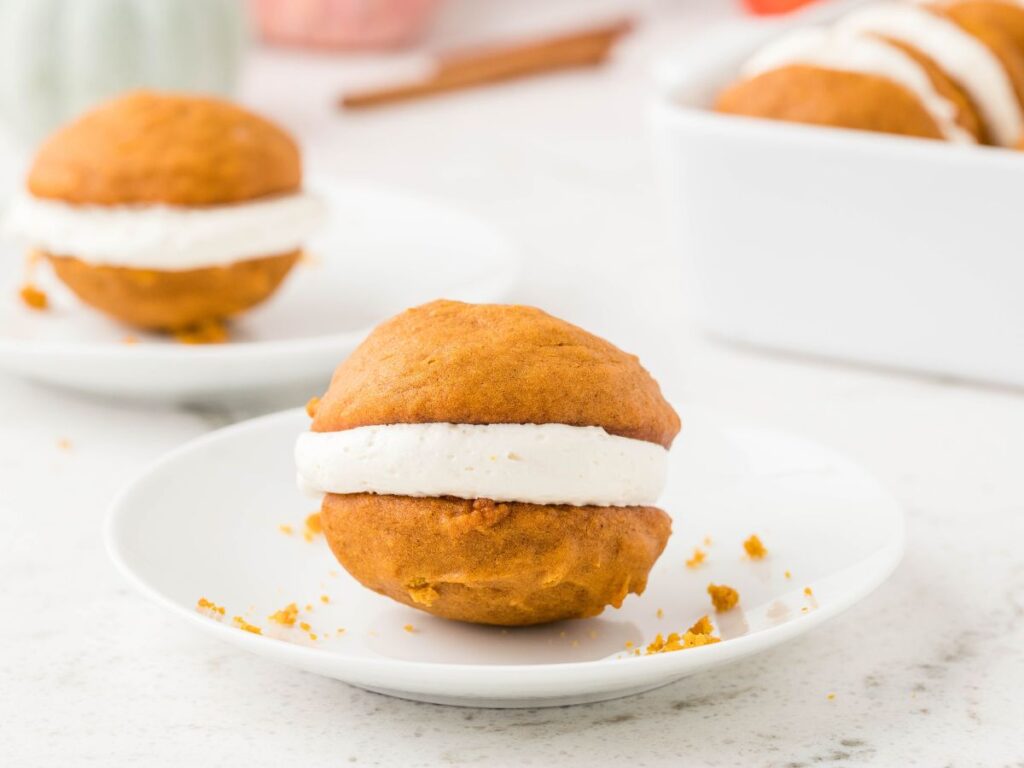
When ready to fill, place the filling inside a piping bag with a large 1A tip OR you can put it inside a gallon-sized Ziploc bag with the corner snipped off. Flip half of the cookies over and pipe a generous amount of filling onto each flipped over half. Place the other cookie on top and press together gently.

The whoopie pies are best served chilled from the fridge so I recommend storing them inside a covered container for at least 2-3 hours before serving.
Tips For Making Homemade Pumpkin Whoopie Pies
- Don’t OverMix The Batter : This may seem obvious, but it’s actually really important that you mix gently, only using a rubber spatula and not a mixer, when combining the wet and dry ingredients for the cookies. If the batter is overmixed it will cause the cookies to fall flat when baking. We want them light and fluffy, so just mix until no flour pockets remain in the batter.
- Let Cookies Cool Completely Before Filling : Make sure the cookies are completely cooled before filling them. If they are even slightly warm, the filling will just fall right out and you won’t get that pretty sandwich look.
How To Properly Store Pumpkin Whoopie Pies
Fridge : Store the whoopie pies in an airtight container for up to 2-5 days in the fridge. The leftovers taste fabulous even on day 4 or beyond. The pumpkin flavor gets deeper and the whoopie pies are delicious served chilled.
Freezer : To have them last for longer, wrap each individual whoopie pie in plastic wrap and then again in foil. Place the wrapped cookies inside a freezer-safe bag or container, and freeze for up to 3 months. Let the whoopie pie thaw in the fridge overnight before eating.

Make It Easier!
Instead of making the whipped cream cheese filling from scratch try using a store-bought container of cream cheese frosting instead.


Pumpkin Whoopie Pies
Equipment
Ingredients
Pumpkin Cookies
- 3 cups all-purpose flour
- 1 tablespoon pumpkin pie spice
- 1 teaspoon baking powder
- 1 teaspoon baking soda
- 1 teaspoon kosher salt
- 2 large eggs
- 1 can (15 oz) pure pumpkin
- 1 cup packed light brown sugar
- 1 cup vegetable oil
- 1/2 cup granulated sugar
- 2 tablespoons pure maple syrup
- 1 teaspoon vanilla extract
Whipped Cream Cheese Filling
- 1 bar (8 oz) cream cheese room temperature
- 2/3 cup granulated sugar
- 2 teaspoons vanilla extract
- 8 ounces Cool Whip thawed
Instructions
- Preheat the oven to 350 degrees F. Prepare a rimmed cookie sheet (13"x18") by lining with parchment paper or spray with nonstick cooking spray. Set aside.
- In a medium mixing bowl, whisk together the dry ingredients; flour, pumpkin pie spice, baking powder, baking soda, and kosher salt.3 cups all-purpose flour, 1 tablespoon pumpkin pie spice, 1 teaspoon baking powder, 1 teaspoon baking soda, 1 teaspoon kosher salt
- In a larger mixing bowl, whisk together the eggs, pure pumpkin, light brown sugar, vegetable oil, granulated sugar, maple syrup, and vanilla extract until well combined and smooth.2 large eggs, 1 can (15 oz) pure pumpkin, 1 cup packed light brown sugar, 1 cup vegetable oil, 1/2 cup granulated sugar, 2 tablespoons pure maple syrup, 1 teaspoon vanilla extract
- Next, add the dry ingredients into the wet ingredients. Mix thoroughly, with a silicone rubber spatula, until combined but be sure not to overmix the batter. Allow the batter to rest for 10 minutes.
- Use a 3 tablespoon cookie scoop (a large cookie scoop) to scoop the dough onto the prepared cookie sheet. Bake for 10-12 minutes.
- Remove cookies from the oven and allow them to cool completely before filling them. *Let the cookies cool on the warm cookie sheet for about 10-15 minutes and then remove them to a cooling rack to finish cooling completely.
- While the cookies are baking make the filling so it has time to refrigerate. In a mixing bowl using an electric hand mixer, beat the cream cheese, granulated sugar, and vanilla extract until creamy and no lumps remain. Stir in the thawed Cool whip and mix until combined. Cover the bowl and let the filling refrigerate until you're ready to fill the whoopie pies.1 bar (8 oz) cream cheese, 2/3 cup granulated sugar, 2 teaspoons vanilla extract, 8 ounces Cool Whip
- When ready to fill, place the cream cheese filling inside a piping bag with a large 1A tip OR you can put it inside a gallon-sized Ziploc bag with the corner snipped off. Flip half of the cookies over and pipe a generous amount of filling onto each flipped over half. Place the other cookie on top and press together gently.
- The whoopie pies are best served chilled from the fridge so I recommend storing them inside a covered container for at least 2-3 hours before serving.
Notes
Nutrition
Did You Make This Recipe?
I’d love to see it! You can share it with me on @happy.familyrecipes and follow on Pinterest @happyfamilyrecipes or Facebook @happyfamilyrecipes for more!
Did you love this recipe?
Make sure to comment below so we can chat about it! Or follow on your favorite social network for even more family recipes.